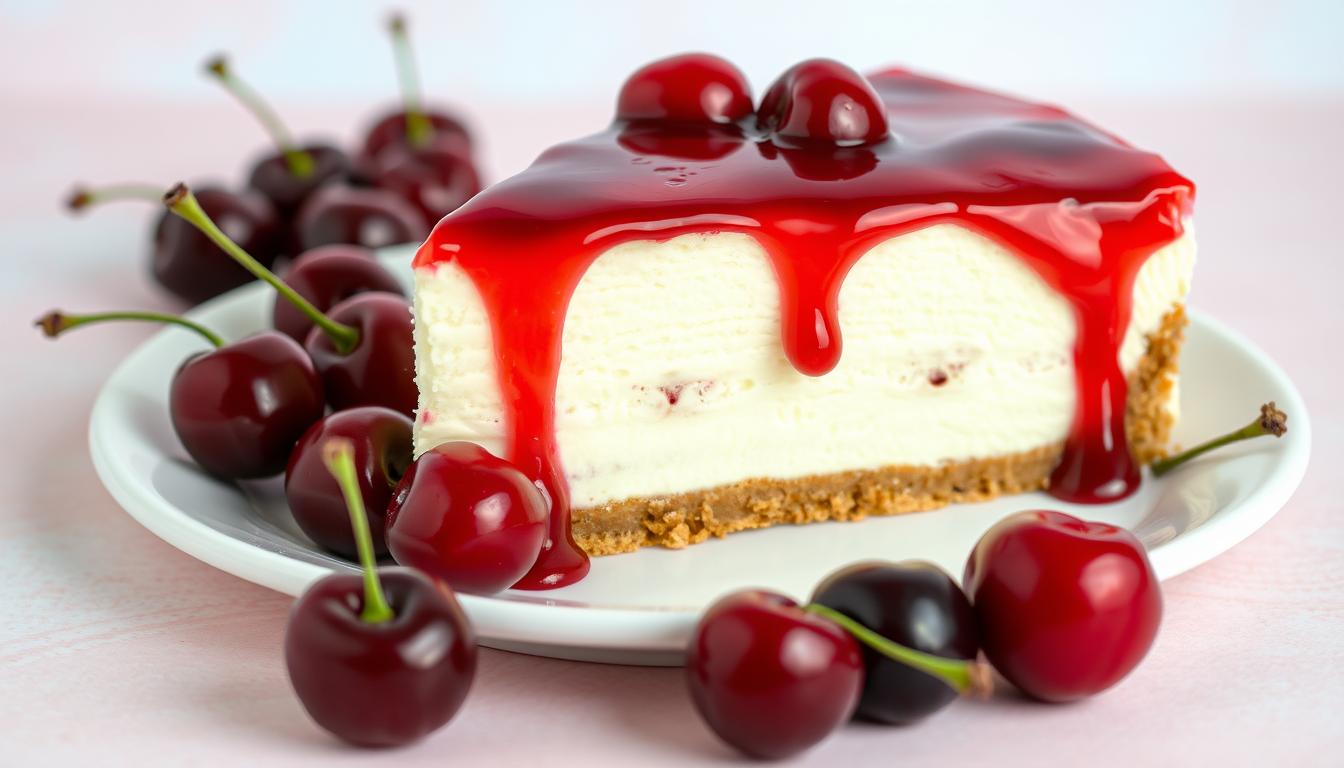
The smell of a freshly baked cheesecake brings back happy memories. It’s a treat that combines rich, creamy texture with a burst of cherry flavor. This dessert is perfect for any occasion, whether it’s a holiday or just a craving for something special.
Key Takeaways
- Perfectly creamy and indulgent cherry cheesecake recipe
- Easy to make with a graham cracker crust and homemade cherry topping
- Ideal for special occasions, holidays, and crowd-pleasing desserts
- Make-ahead convenience and versatile serving options
- Detailed step-by-step instructions for a guaranteed success
Why This Cherry Cheesecake Recipe Is Perfect for Any Occasion
The no bake cherry cheesecake is a timeless favorite. It’s creamy and indulgent, perfect for any special event. Whether it’s a winter holiday or a summer barbecue, this cherry cheesecake recipe unbaked will wow your guests.
Special Occasions and Holidays
This cheesecake is ideal for holiday meals. Its velvety texture and cherry topping make it a standout. Serve it at Thanksgiving, Christmas, or New Year’s, and it’ll be the highlight of the evening.
Make-Ahead Dessert Benefits
This no bake cherry cheesecake is easy to prepare ahead of time. It only takes 7 hours and 50 minutes to make. You can store it in the fridge for up to 5 days or freeze it for 2 months, making it perfect for busy hosts.
Crowd-Pleasing Results
This cherry cheesecake recipe unbaked is a crowd-pleaser. Its creamy cheesecake and sweet cherry topping are loved by many. It’s a dessert that will have everyone asking for more.
Looking for a dessert that’s delicious, versatile, and easy to make? This no bake cherry cheesecake is your go-to for any occasion.
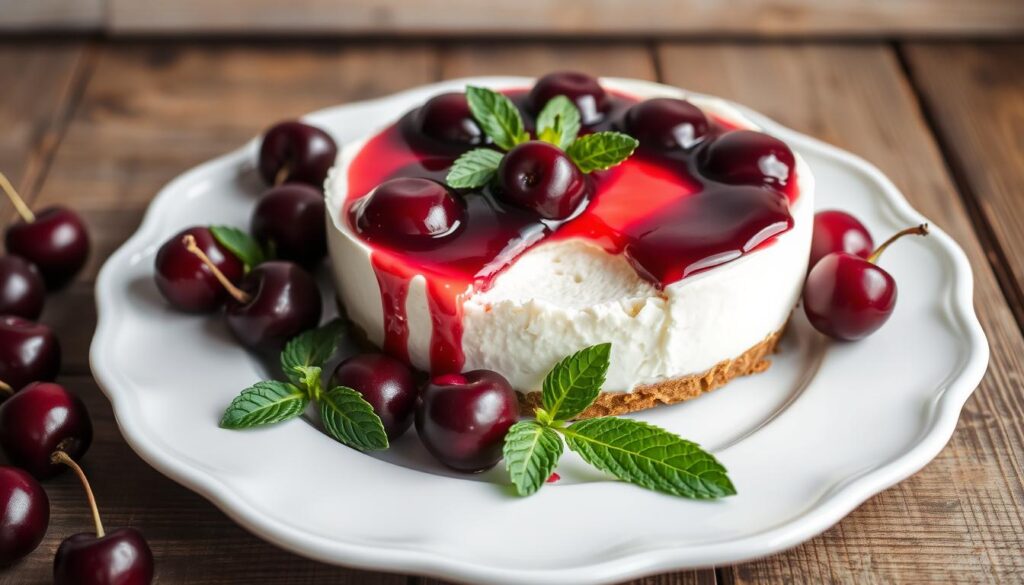
Essential Ingredients for the Perfect Cherry Cheesecake
To make a delicious cherry cheesecake, you need a few key ingredients. Start with a graham cracker crust, made from crushed crackers and melted butter. For the creamy filling, use full-fat cream cheese, like Philadelphia, along with sour cream, sugar, eggs, lemon juice, and vanilla extract.
Don’t use low-fat cream cheese. The cheesecake’s creamy texture comes from high-quality, full-fat dairy. After making the base, top it with sweet cherry pie filling. This adds a perfect mix of creamy and fruity flavors.
| Ingredient | Quantity |
|---|---|
| Graham cracker crumbs | 12 whole graham cracker rectangles (6 ounces) |
| Unsalted butter, melted | 5 tablespoons |
| Granulated sugar | 1 cup |
| Full-fat cream cheese, at room temperature | 2 pounds |
| Full-fat sour cream | 1/2 cup |
| Lemon juice | 2 teaspoons, freshly squeezed |
| Vanilla extract | 1 teaspoon |
| Large eggs | 3 |
| Large egg yolk | 1 |
| Cherry pie filling | 1 (21 ounce) can |
With these ingredients, you’re ready to make a cheesecake that will wow your loved ones. The mix of creamy philadelphia cheesecake and tangy cherry topping is a timeless favorite.
Mastering the Graham Cracker Crust
Making the perfect graham cracker crust is key for a great cherry cheesecake. With a few simple steps, your crust will be just right. It will hold up well against the creamy filling.
Proper Crumb Texture Tips
To get a crust with the perfect crumbly texture, start with the crumbs. Use a food processor to finely grind 1 3/4 cups of graham cracker crumbs. This ensures they are even and consistent.
Pressing and Pre-Baking Techniques
After preparing the crumbs, mix them with 1/2 cup of melted butter and 1/4 cup of sugar. Press this mixture into the bottom and up the sides of a 9-inch springform pan. Use the bottom of a glass to smooth out the edges.
Pre-bake the crust at 325°F for 10 minutes. This makes it lightly golden brown and ready for the cheesecake baking process.
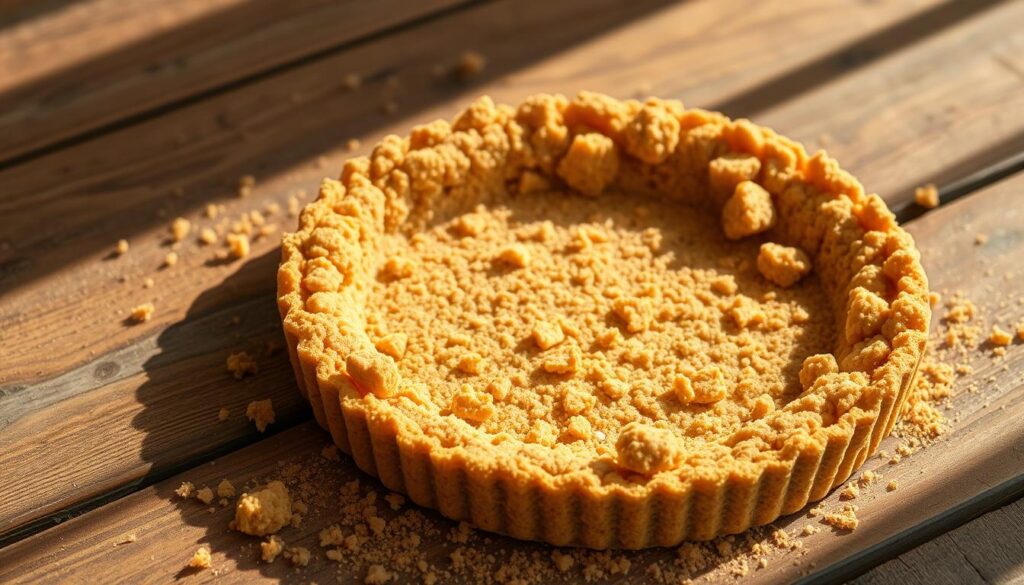
“The key to a perfect graham cracker crust is in the preparation and pre-baking. Follow these steps, and you’ll have a sturdy, flavorful foundation for your delicious cherry cheesecake.”
Cherry Cheesecake Recipe: Step-by-Step Instructions
Making a delicious cherry cheesecake is simpler than you think. Just follow these easy steps to create a creamy and irresistible cream cheese dessert.
- Start by softening the cream cheese. In a big mixing bowl, beat the cream cheese until it’s smooth and creamy.
- Then, add the granulated sugar slowly. Mix until it’s well combined and the mix is light and fluffy.
- Now, mix in the sour cream, lemon juice, and vanilla extract into the cream cheese mix. Blend until everything is fully mixed.
- Add the eggs one at a time. Mix well after each egg to make sure the batter is smooth and even.
- Pour the cheesecake batter into the graham cracker crust. Use a spatula to smooth the top.
- Bake the cherry cheesecake at 300°F for about 70 minutes. It should be almost set in the middle.
- Turn off the oven and open the door a bit. Let the cheesecake cool in the oven for 1 hour.
- Put the cheesecake in the fridge for at least 6 hours, or better yet, overnight. This will help it set properly.
- Just before you serve it, top the cheesecake with the tasty cherry topping.
By following these steps, you’ll make a perfectly baked cherry cheesecake. It’s sure to wow your guests and satisfy your sweet tooth.
The Secret to a Crack-Free Cheesecake
Getting a perfect, crack-free baked cheesecake is every home baker’s dream. Luckily, there are a few tricks to make sure your new york style cheesecake comes out smooth and flawless.
Water Bath Method
Baking your cheesecake in a water bath is a great way to avoid cracks. This method involves wrapping your springform pan in heavy-duty foil and placing it in a larger pan with water. The water bath keeps the cheesecake moist and even, reducing the chance of cracks.
Temperature Control Tips
Changes in oven temperature can cause cracks. Make sure your oven is preheated well and keeps a steady temperature. Don’t open the oven door too often, as this can drop the temperature and lead to cracks.
Cooling Process Guidelines
Cooling your cheesecake correctly is just as crucial as baking it. After baking, turn off the oven but keep the door ajar for an hour. This slow cooling helps the cheesecake set without cracking. Once it’s room temperature, move it to the fridge to chill before serving.
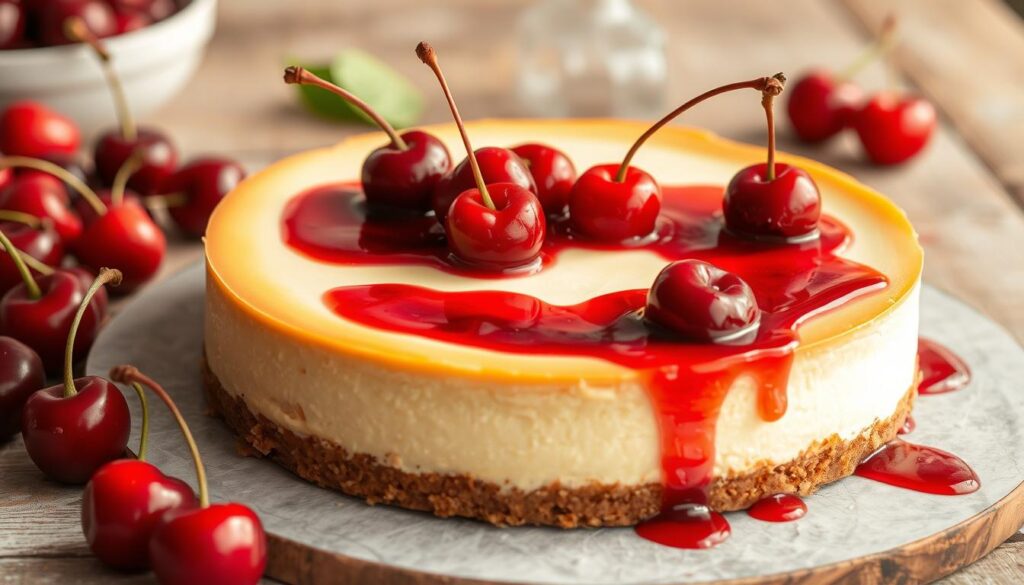
“The secret to a flawless baked cheesecake lies in patience and precision. With the right techniques, you can achieve a crack-free masterpiece every time.”
Creating the Perfect Cherry Topping
Elevate your cherry cheesecake with a decadent homemade cherry topping. This topping adds a vibrant contrast to the creamy cheesecake base. It makes your dessert a true showstopper for any occasion.
For a quick option, use premium canned cherry pie filling. Spread it evenly over the chilled cheesecake for a pop of color and fruity flavor. But, if you’re up for a challenge, making a homemade cherry topping is the way to go.
To make the perfect homemade cherry topping, you’ll need:
- Fresh cherries (or frozen cherries, if desired)
- Granulated sugar
- Cornstarch
- Fresh lemon juice
In a saucepan, mix the cherries, sugar, cornstarch, and lemon juice. Cook over medium heat, stirring often, until the cherries release their juices and the topping thickens. This should take about 2-3 minutes. Remove from heat and let it cool completely before spooning it over the chilled cheesecake.
The homemade cherry topping adds vibrant color and a perfect balance of sweetness and tanginess. It complements the creamy cheesecake beautifully. Chill the cheesecake with the topping for at least 2 hours before serving to allow the flavors to meld together.
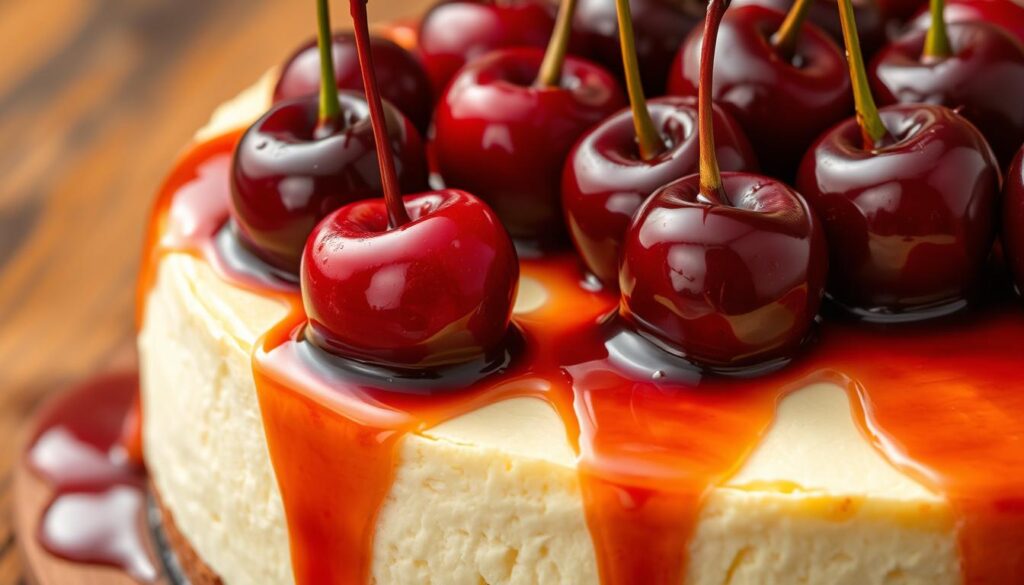
Whether you choose canned cherry pie filling or go for the homemade approach, the cherry topping is the crowning glory of your delicious cherry cheesecake. Enjoy the perfect balance of creamy and fruity goodness with every bite.
Professional Tips for Serving and Presentation
Make your cherry cheesecake stand out with these expert tips. A beautiful dessert is just as key as its taste.
Cutting Techniques
For clean slices, use a sharp knife. Dip it in hot water and dry it between cuts. This keeps the cheesecake from tearing.
Serve on a chilled plate or base. It helps keep the cheesecake’s texture intact.
Plating Suggestions
Display your cheesecake on a crisp white plate. Let the cherry topping shine. Add whipped cream, fresh cherries, or chocolate shavings for a fancy look.
These tips will make your cheesecake look and taste great. Your guests will remember this dessert experience.
Storage and Make-Ahead Instructions
This cherry cheesecake is easy to store and prepare ahead of time. It’s perfect for any event. Just follow a few steps to enjoy its creamy flavors later.
To store it, cover the cheesecake tightly with plastic wrap or use an airtight container. Keep it in the fridge for up to 5 days. For longer storage, freeze individual slices or the whole cake for up to 1 month. Wrap them in plastic and foil before freezing. Thaw overnight in the fridge when you’re ready to serve.
This recipe can be made 1-2 days before your event. It gets better as it chills, making it a great cheesecake storage and make-ahead dessert choice.
| Prep Time | Cook Time | Total Time | Servings |
|---|---|---|---|
| 35 mins | 10 mins | 3 hrs 30 mins | 10 |
With these tips, you can enjoy this cherry cheesecake with little effort. It’s perfect for hosting or celebrating.
Recipe Variations and Substitutions
The classic cherry cheesecake recipe can be easily adapted to suit your personal preferences or specific dietary needs. Explore these delightful variations to take your dessert experience to new heights:
For the crust, try using vanilla wafers or cinnamon graham crackers instead of traditional graham crackers. This can add a different flavor dimension to the base. As for toppings, you can experiment with blueberry pie filling, lemon curd, or even a rich hot fudge sauce to complement the creamy cheesecake.
If you’re looking for a no-bake version, simply use a pre-made graham cracker crust, omit the eggs, and fold in whipped cream instead of baking the cheesecake. This method offers a lighter, more refreshing take on the classic cheesecake variations. For flavor variations, consider adding a touch of almond extract, swirling in chocolate, or incorporating crushed Oreos for a decadent twist on the no bake cherry cheesecake.
FAQ
What is the total time required to make this cherry cheesecake?
How many servings does this recipe yield?
What are the key ingredients in this cherry cheesecake recipe?
How do I prepare the graham cracker crust?
What’s the secret to a crack-free cheesecake?
How do I make the perfect cherry topping?
How should I store and serve the cherry cheesecake?
Source Links
- https://dancearoundthekitchen.com/cherry-cheesecake/ – Cherry Cheesecake
- https://www.smalltownwoman.com/cherry-cheesecake/ – Cherry Cheesecake
- https://www.sugarsaltmagic.com/easy-baked-cheesecake-fresh-cherry-sauce/ – Cherry Cheesecake
- https://cookiesandcups.com/cherry-cheesecake/ – Cherry Cheesecake – Perfect Homemade Cheesecake!
- https://www.fifteenspatulas.com/cherry-cheesecake/ – Cherry Cheesecake (EASY no-bake cups) – Fifteen Spatulas
- https://www.caketrove.com/cherry-cheesecake-recipe/ – Easy Homemade Cherry Cheesecake Recipe That Wows
- https://www.painlesscooking.com/recipe-for-cherry-cheesecake.html – How to Make a Recipe for Cherry Cheesecake
- https://www.thekitchn.com/how-to-make-perfect-cheesecake-recipe-cooking-lessons-from-the-kitchen-110760 – This Perfect Cheesecake Will Make You Feel Like a Pro Baker
- https://www.tasteofhome.com/recipes/cherry-cheesecake/?srsltid=AfmBOopN8iwwnuubIgVX9jHXlZnAdJzlWS1duQc-oRMYW-paCCV0UVW6 – No-Bake Cherry Cheesecake
- https://www.vosshomebakery.com/recipes/cherry-cheescake – Cherry Cheescake
- https://thesouthernladycooks.com/cherry-cream-cheese-pie-or-cheesecake/ – NO BAKE CHERRY CHEESECAKE
- https://qualifyrecipes.com/cherry-cheesecake-recipe/ – Cherry Cheesecake Recipe
- https://thebigmansworld.com/cherry-cheesecake-recipe/ – Cherry Cheesecake {Foolproof Recipe} – The Big Man’s World ®
- https://baranbakery.com/cherry-cheesecake/ – Cherry Cheesecake
- https://www.littlesweetbaker.com/ultimate-cherry-cheesecake/ – Best Cherry Cheesecake Recipe – Little Sweet Baker
- https://britneybreaksbread.com/cherry-cheesecake/ – Cherry Cheesecake
- https://www.onceuponachef.com/recipes/new-york-style-cheesecake.html – Classic New York Cheesecake Recipe – Once Upon a Chef
- https://richanddelish.com/cherry-cheesecake/ – Cherry Cheesecake w/ Cherry Topping
- https://www.tasteofhome.com/recipes/cherry-cheesecake/?srsltid=AfmBOooqKSI-ffsjXC-mXTC_acgcf8-d9VMW1D_-zGqFBe5RMmBAEhyU – No-Bake Cherry Cheesecake
- https://foodess.com/philadelphia-cheesecake/ – PHILADELPHIA Cheesecake (Classic Recipe + Pro Tips!)
- https://www.mccormick.com/articles/mccormick/8-great-cheesecake-recipes – How to Make the Perfect Cheesecake | Tips and Recipes | McCormick
- https://gleerecipes.com/cherry-cheesecake-recipe/ – Classic Cherry Cheesecake Recipe – Easy Homemade Dessert
- https://www.marthastewart.com/356348/no-bake-cherry-cheesecake – Our No-Bake Cherry Cheesecake Is Easy to Make and Hard to Resist
- https://chocolatewithgrace.com/no-bake-cherry-cheesecake/ – No Bake Cherry Cheesecake
- https://thatovenfeelin.com/cherry-cheesecake-fluff-recipe/ – Cherry Cheesecake Fluff Recipe
- https://thegirlinspired.com/cherry-cheesecake-dump-cake/ – Cherry Cheesecake Dump Cake
- https://www.simplystacie.net/no-bake-cherry-cheesecake/ – No-Bake Cherry Cheesecake
